Soft, buttery, chewy caramels made in the microwave in just six minutes with a handful of ingredients? YES, you guys! Yes!
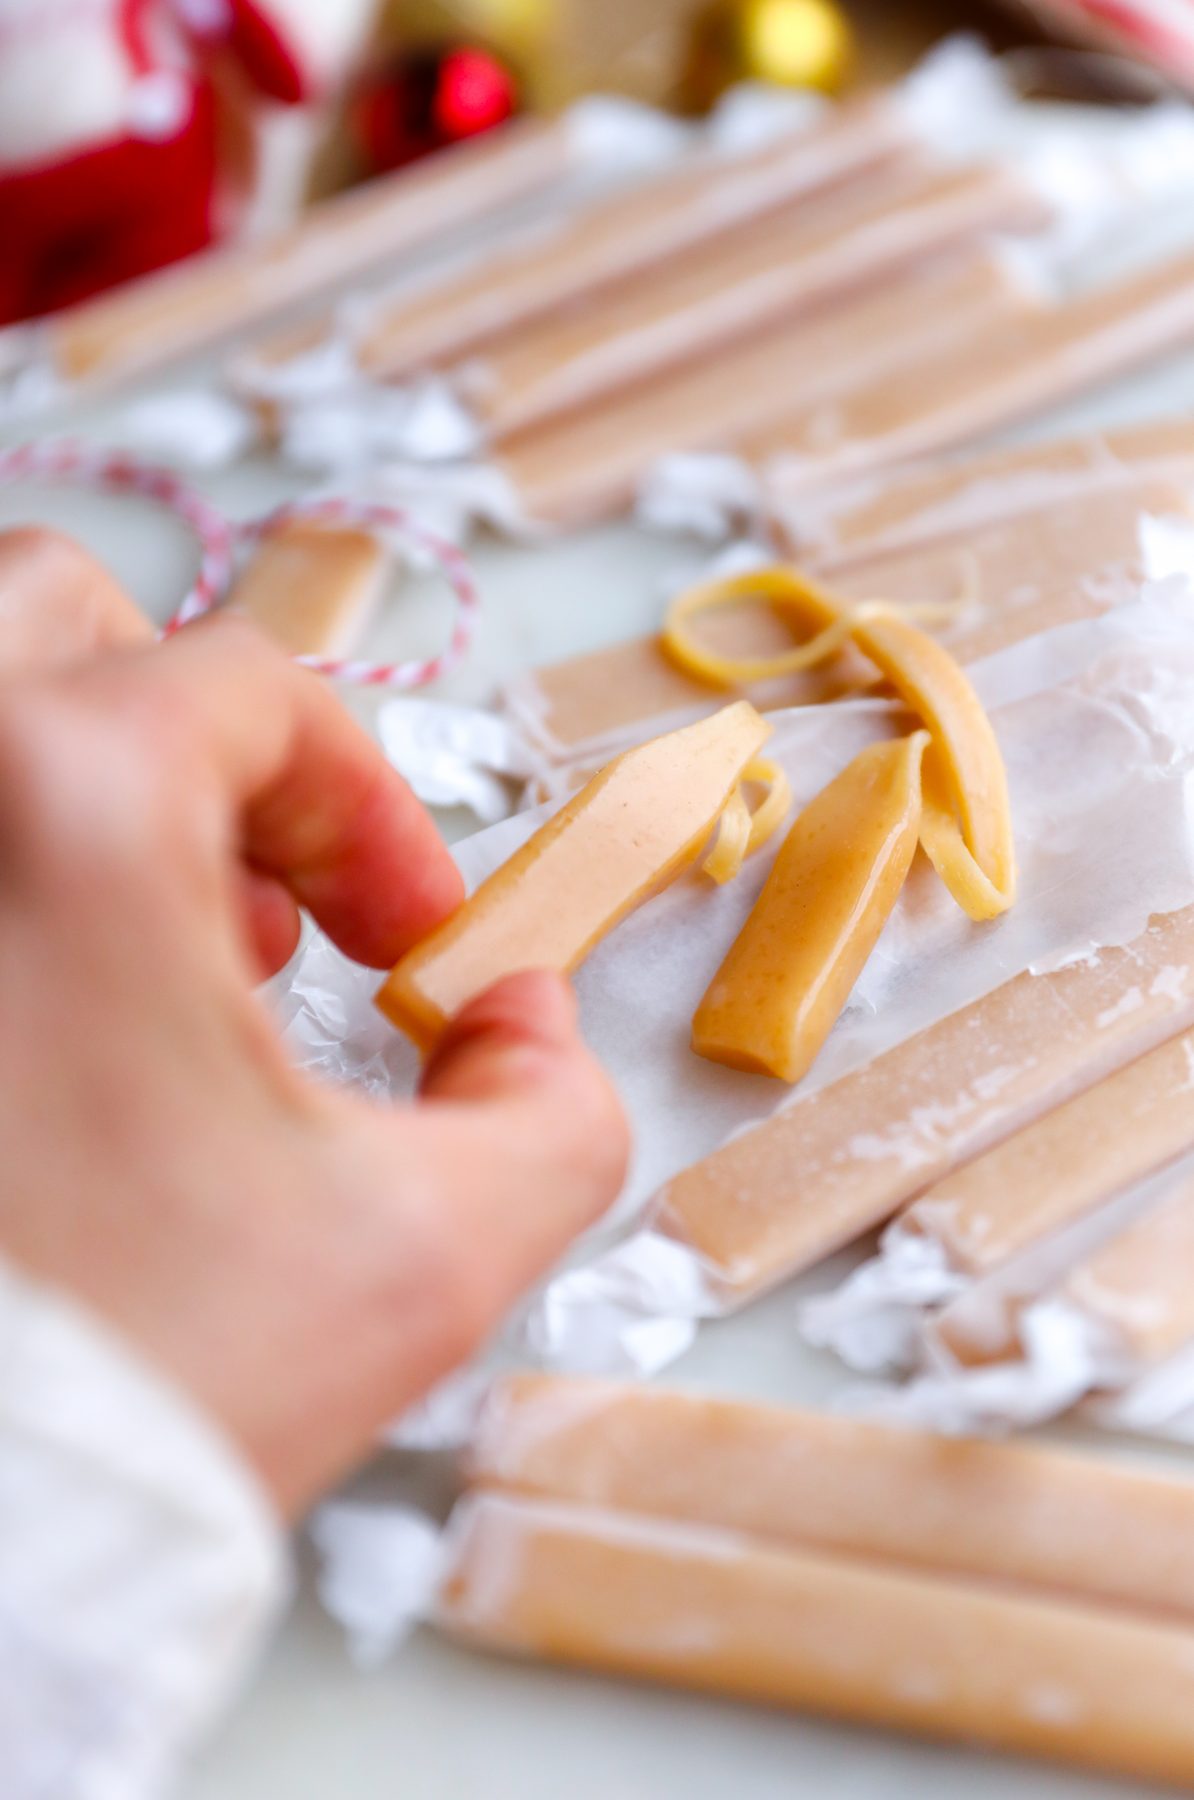
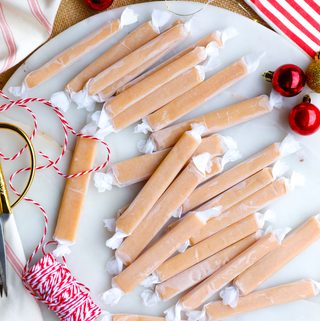
I have made these a number of times and they make the best homemade gifts! They look pretty all wrapped up and the recipe makes LOADS! I like cutting them into long fingers but you could quite easily cut them into squares too!
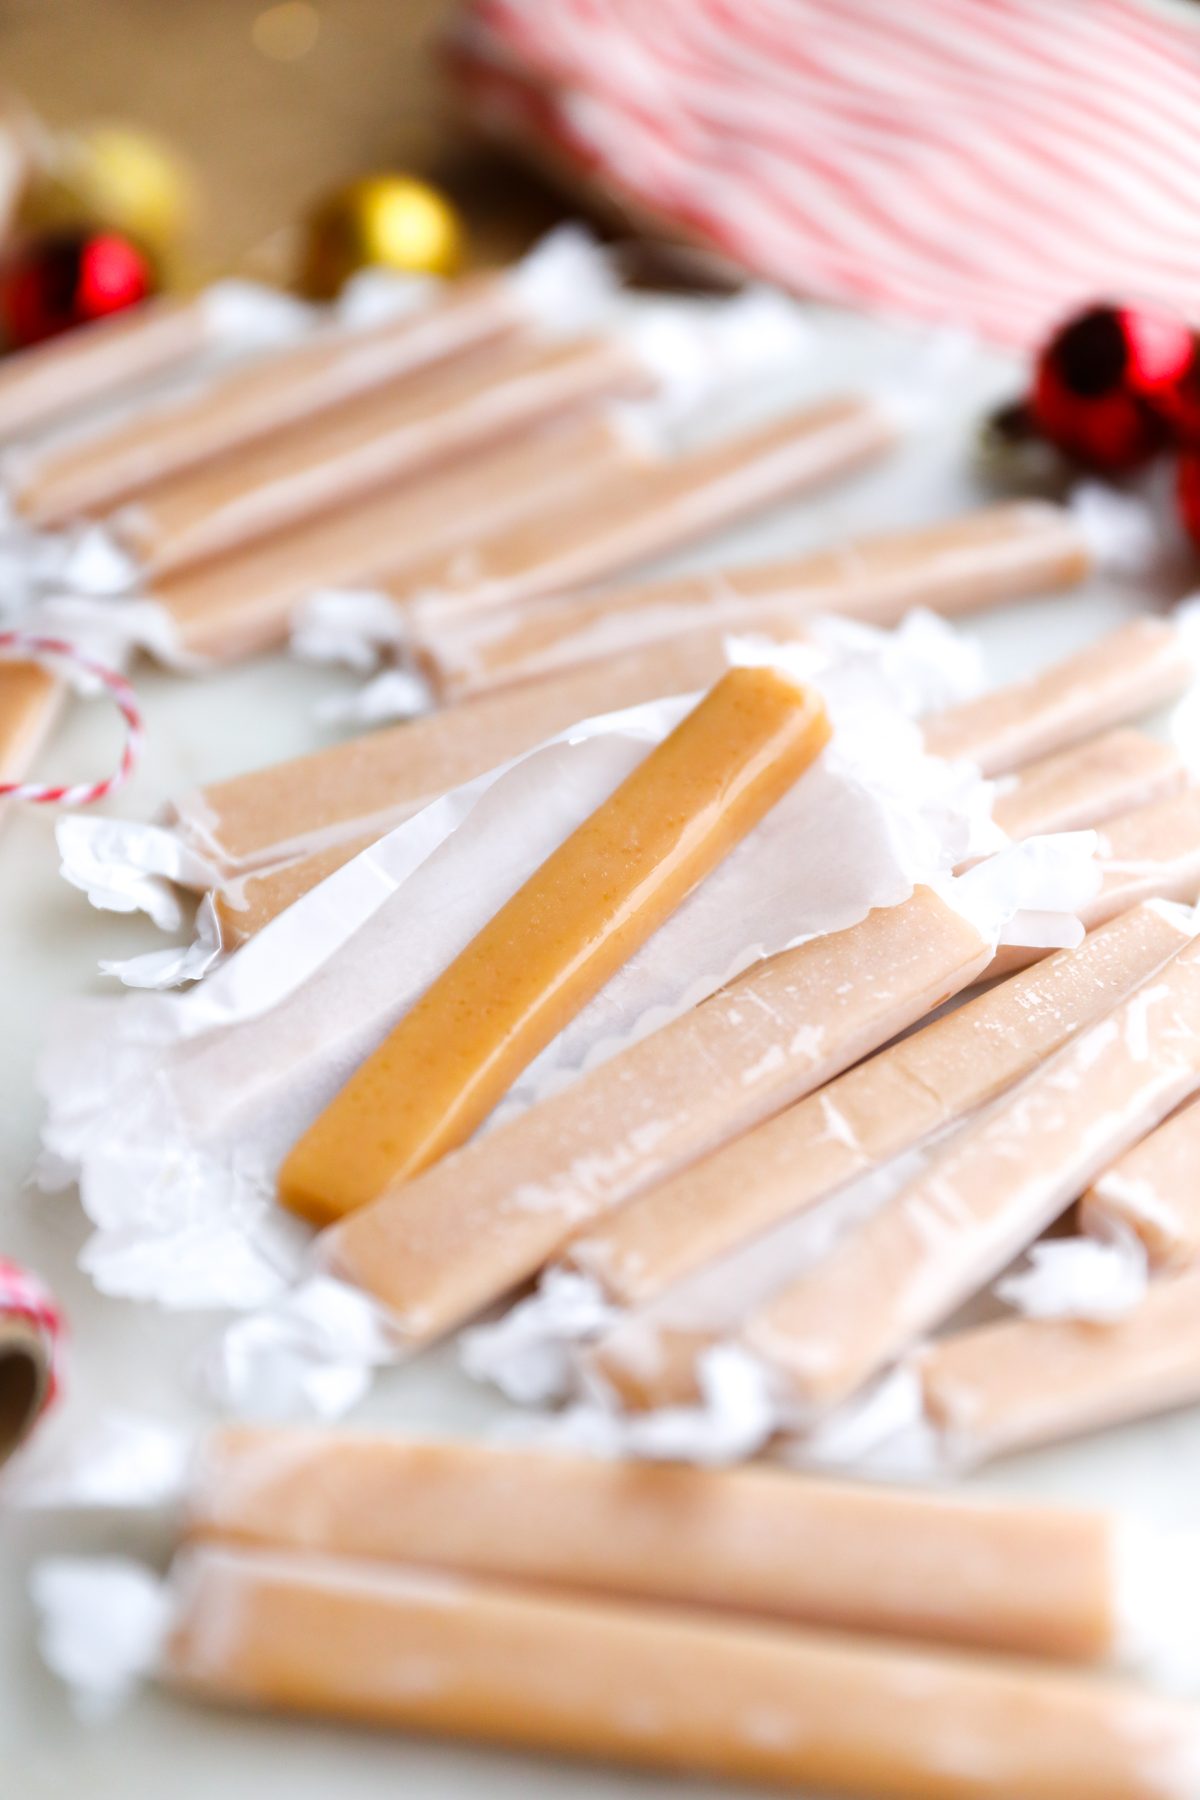
Tips for making Microwave Caramels/
This is a quick recipe, so the best thing you can do is have everything ready before you begin. Measure out your ingredients, prepare your dish and have your oven mitts and thermometer nearby. Once the caramel is ready, you want to be able to pour it straight into the dish.
Use a large, heatproof bowl
Choose a large, microwave-safe bowl with plenty of room for the mixture to bubble up as it cooks. Check that the bowl is suitable for the high temperatures involved in making sugar syrup. I used a thick glass bowl which worked perfectly.
Use oven mitts
Be Careful: Both the bowl and the caramel will be extremely hot. Use oven mitts to remove the bowl from the microwave, and resist the temptation to lick the spoon!
Have a candy thermometer on hand
I highly recommend using a candy or sugar thermometer for this recipe. It takes the guesswork out of knowing when your caramel is ready, which is important if you want that lovely soft, chewy texture.
You’re looking for a temperature of approximately 114–117°C (238–242°F).
Use a thermometer that’s suitable for hot sugar mixtures. A probe thermometer can be used to check the caramel after you pause the microwave; don’t leave a conventional thermometer in the microwave unless it is specifically designed for microwave use. A point-and-measure infrared thermometer measures the surface, so a probe is a more reliable way to check the mixture HOWEVER having said that I totally used a point and measure thermometer! Hah!
Don’t have a thermometer? You can use the cold-water test instead. Drop a small spoonful of the caramel into a bowl of ice-cold water and allow it to cool. It should form a soft, pliable ball.
Microwave wattage matters
I cooked my caramels for six minutes on HIGH in a 1,000-watt microwave. If your microwave has a lower wattage, the mixture may need a little longer—possibly closer to seven minutes.
Start checking at six minutes, then, if needed, continue cooking in 20-second intervals, checking again after each interval. The temperature or cold-water test is more useful than the clock alone!
Cutting and wrapping your caramels
Use a sharp knife to cut the cooled caramel into small rectangles. If it has become a little too firm, let it sit at room temperature for a few minutes. You can also carefully warm and dry your knife before cutting.
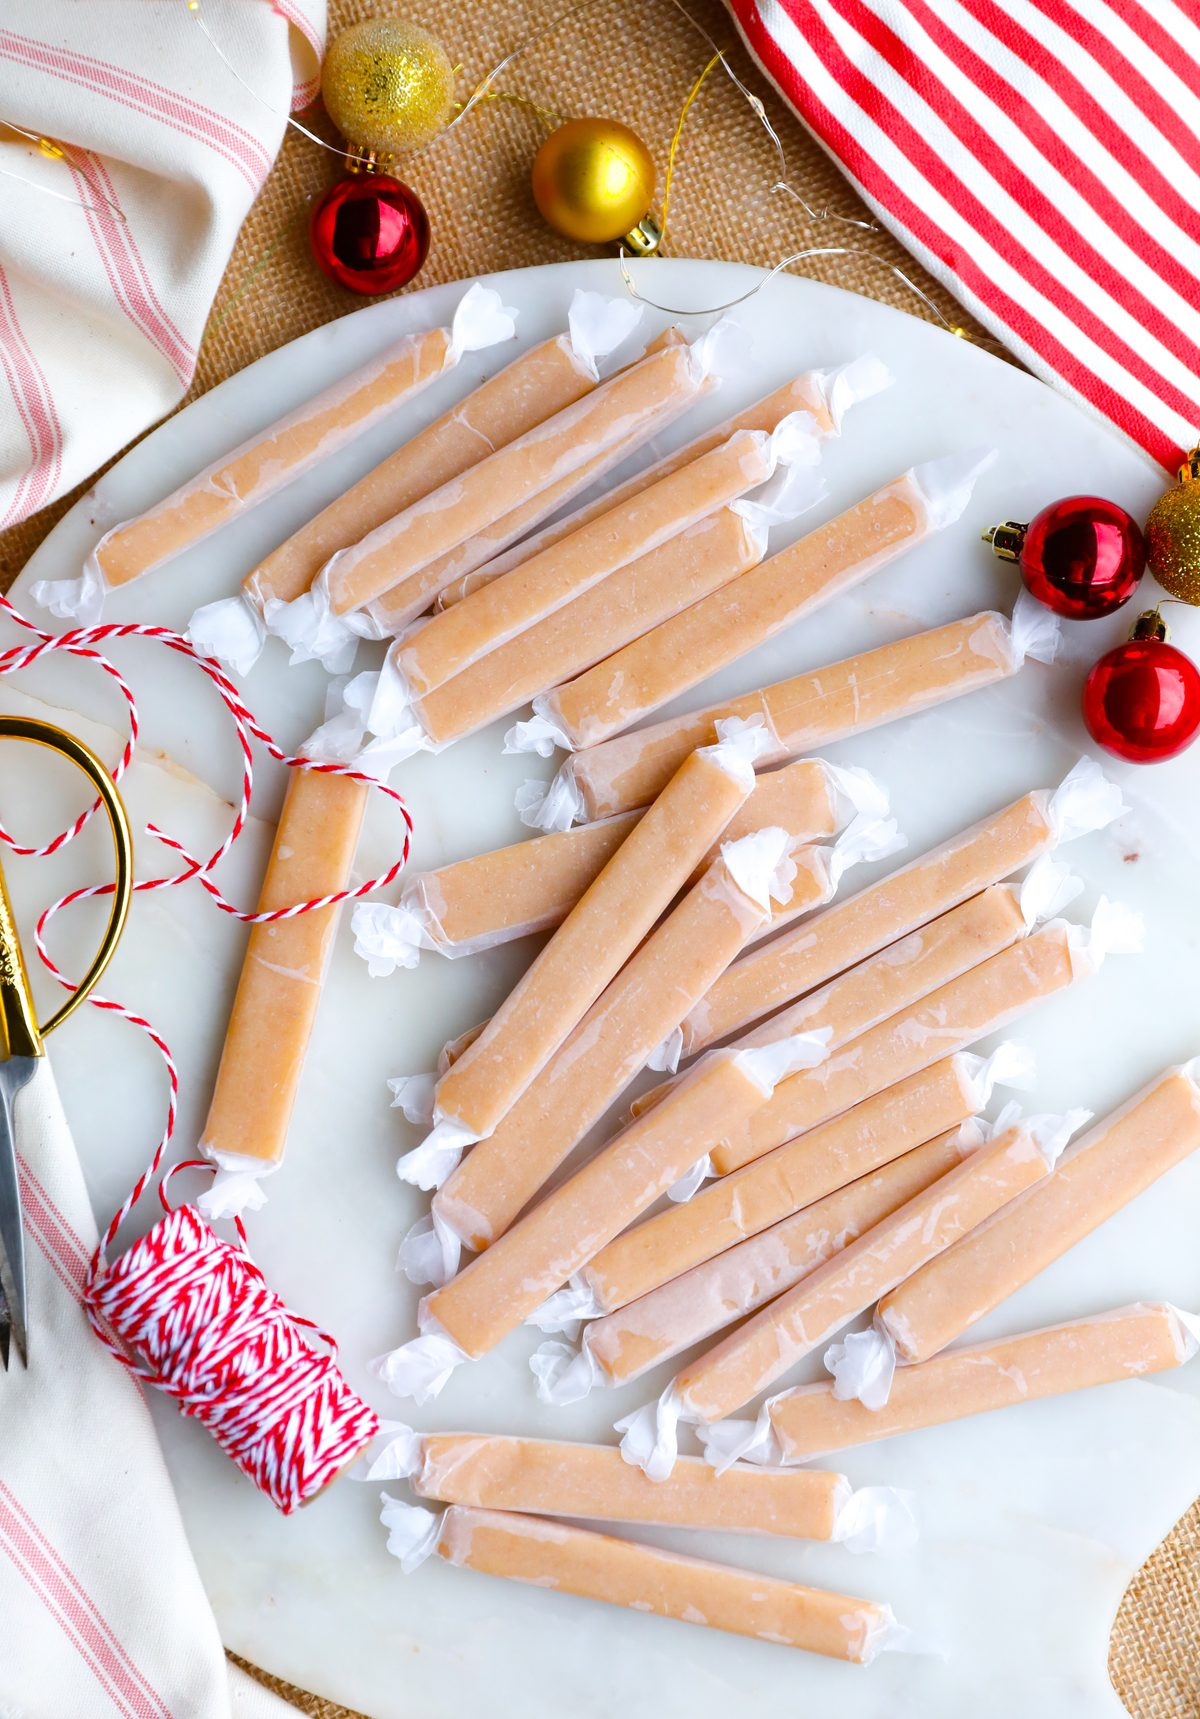
I found that wax paper works particularly well for wrapping the caramels individually. I cut my wax paper into rectangles approximately 14 cm × 5 cm, then wrapped each caramel and twisted the ends.
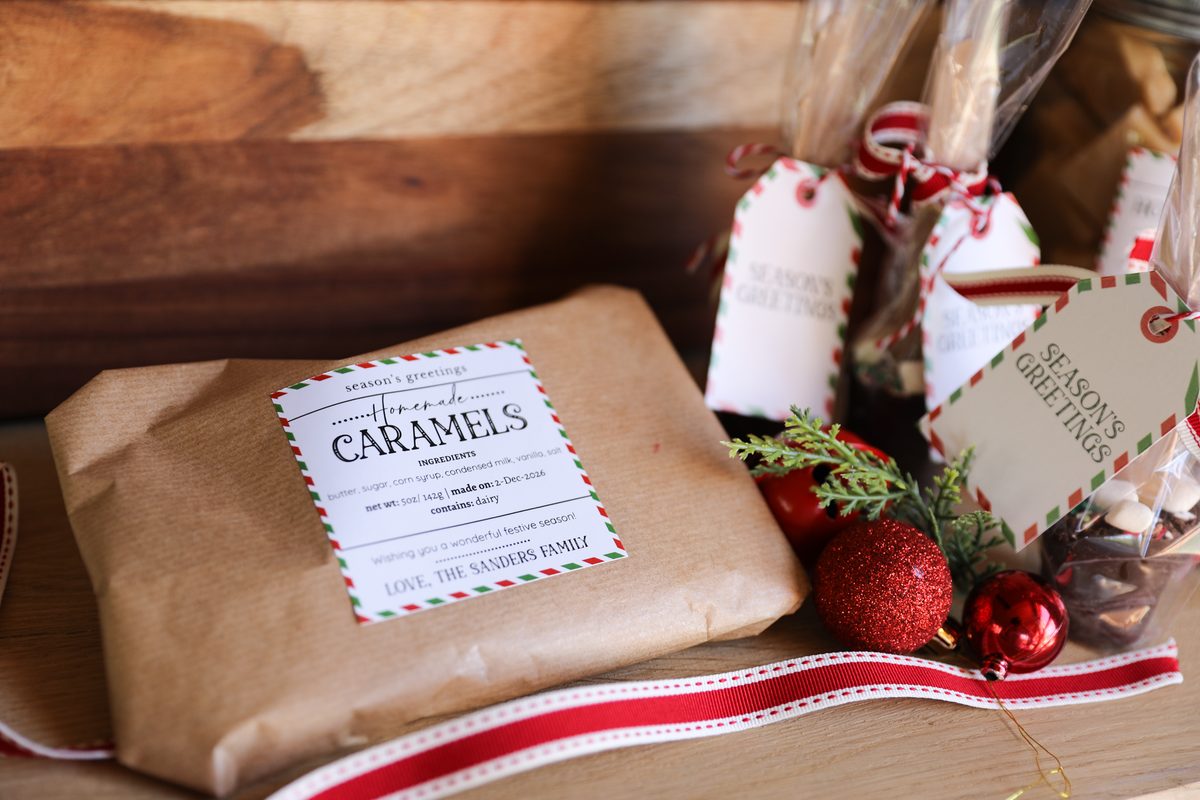
You can find these printable and editable Canva labels as a bonus in my Festive baking e-book.
Take them to the next level: dip them in chocolate!
If you want to make these even more decadent, melt some chocolate and dip the cooled caramels into it. Place them on a lined tray and allow the chocolate to set. Yes! This is what we call a caramel upgrade! The combination of chocolate and chewy caramel reminds me of my favourite Quality Street – yip, the ones in the yellow wrapper!!
How to make microwave caramels
- First, melt the butter in your large microwave-safe bowl. Add the corn syrup, white sugar, brown sugar, condensed milk and salt, and whisk everything together really well. You want the sugars and other ingredients to be evenly combined before cooking.
- Microwave on HIGH for approximately six minutes, then check whether the caramel has reached the right temperature. Once it’s ready, carefully remove the hot bowl and stir in the vanilla.
- Pour the caramel into your prepared dish, sprinkle with sea salt if you like, and leave it to cool until firm enough to slice. You can let it cool at room temperature for an hour or so, or pop it into the fridge for 20–30 minutes to speed things up.
Are you Making These for Christmas?
If you’re making these for Christmas, you’ll find editable, printable gift labels and tags in my Festive Baking e-book. 🎄
6-Minute Microwave Caramels
 Prep Time: 10 minutes
- Cook Time: 6 minutes
- Total Time: 16 minutes
 Yield: 40 caramels 1x
 Print Recipe
 Pin Recipe
Description
Such a quick and tasty treat with a handful of basic ingredients, these microwave caramels are perfect for a homemade gift. Also, if you coat them in chocolate, you take things to the next level!
Ingredients
- ½ cup (120g) butter
- ½ cup light corn syrup
- ½ cup castor sugar
- ½ cup light brown sugar
- ½ cup sweetened condensed milk
- pinch salt
- ¾ teaspoon vanilla extract (or essence)
- Maldon sea salt, optional
Instructions
- Lightly butter or line a 20cm x 20cm (8 x 8 inch) dish with baking paper and set aside.
- Place the butter in a large, heatproof, microwave-safe bowl and microwave until completely melted.
- Add the corn syrup, castor sugar, brown sugar, condensed milk and salt. Whisk everything together really well until evenly combined.
- Microwave the mixture on HIGH for approximately 6 minutes. Cooking times can vary slightly depending on the wattage of your microwave, so check the caramel at this point before cooking it any further.
- To test whether it’s ready, drop a small spoonful of caramel into a bowl of ice-cold water. Once cooled, it should form a soft, pliable ball — not too runny and not hard. If using a sugar thermometer, you’re looking for approximately 114–117°C (238–242°F). I have a digital point and measure thermometer which is helpful to quickly measure the temperature without taking the bowl out the microwave.
- If it needs a little more cooking, return it to the microwave in 20-second intervals, testing again after each interval.
- Carefully remove the bowl from the microwave — the mixture will be extremely hot. Stir in the vanilla extract.
- Pour the caramel into your prepared dish and smooth it out. If you like a sweet-and-salty finish, sprinkle a little Maldon salt over the top.
- Refrigerate for 20–30 minutes, or until the caramel has set enough to slice.
- Lift out and cut into small rectangular pieces or squares.
- Wrap each caramel individually in small pieces of wax paper.
Notes
Make sure your bowl is suitable for very high microwave temperatures.

Leave a Reply