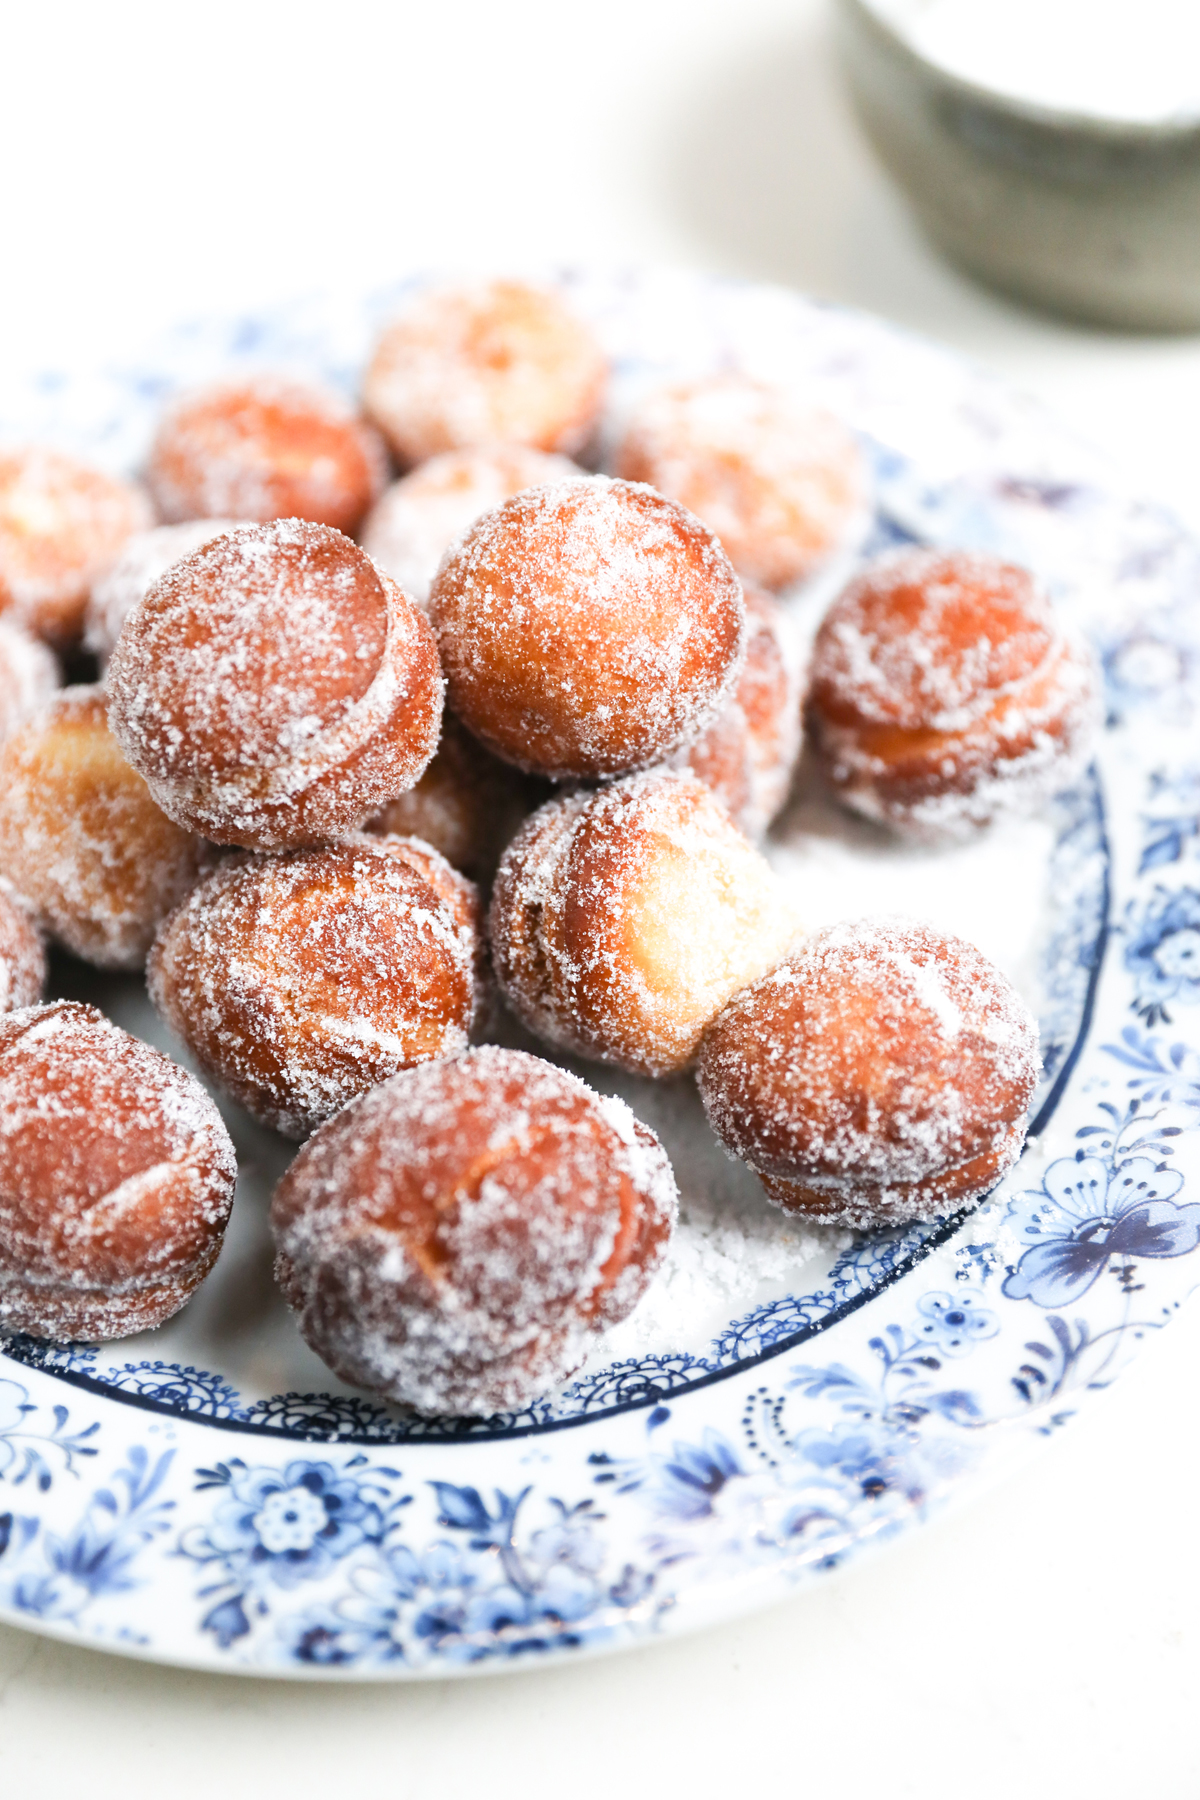
Bite Me!! These mini doughnuts are a complete and utter treat. I always used to think only bakeries could make doughnuts. But no!! No no no!! We can too!! My goodness, if only I had known how EASY it is to make these melt-in-you-mouth balls of deep-fried dough, I would have tried a lot sooner! The recipe is reliable and yields a consistent dough. I have tried and tested it a number of times. Originally I used the recipe to make Custard Doughnuts (Yes, doughnuts filled with pastry cream – all sorts of wow). I found however, that making mini doughnuts is much simpler as it involved far less steps!
SO let’s get into explaining how this recipe works. You will need to make a dough. That be seem obvious but just putting it out there guys – you are not buying the dough, you are making the dough!
The secret to this dough is to use half bread flour and half 00 flour. It makes a HUGE difference. I have even started using the 00 flour together with bread flour when I make pizza bases. They are a lot more pliable and easier to roll, so I am a complete 00 convert! It wasn’t difficult to find either, I used a brand called Stoneground and I found it in my local grocery store. If you can’t find it there, I would try a local deli or specialty ingredient shop. If you really can’t find it, just use all-purpose flour.
The dough needs to be mixed for approximately 10 minutes using an electric mixer. I just used my Kitchen Aid. After 10 minutes it is silky smooth and it is just a matter of shaping it in to a neatly formed ball. At this point you will need to place it in a bowl, cover it and allow to prove for 2-3 hours, it should double its size at least.
After that, it is simply a matter of kneading it 2-3 times and then you simply roll it out until it is 1.5cm thick (approximately) and then punch out tiny little circles of dough – I used a 4cm round cookie cutter (you could of course use a small heart shape too). They need to be covered loosely with plastic / cling wrap and allow to prove for 1 hour or so.
Thereafter it is a matter of deep frying! Yip, we are deep frying y’all! I must say, I found this the most difficult part. And I mention this not to discourage you but to simply make you aware that you check and test your oil temperature. If the oil is too hot, the doughnuts will burn on the outside before cooking on the inside. So it does require a little bit of tinkering. I usually put the heat on medium and increase or decrease if I need to. Frying time is generally 1 minute a side but it could differ depending on the size of your doughnuts and the depth of the oil.
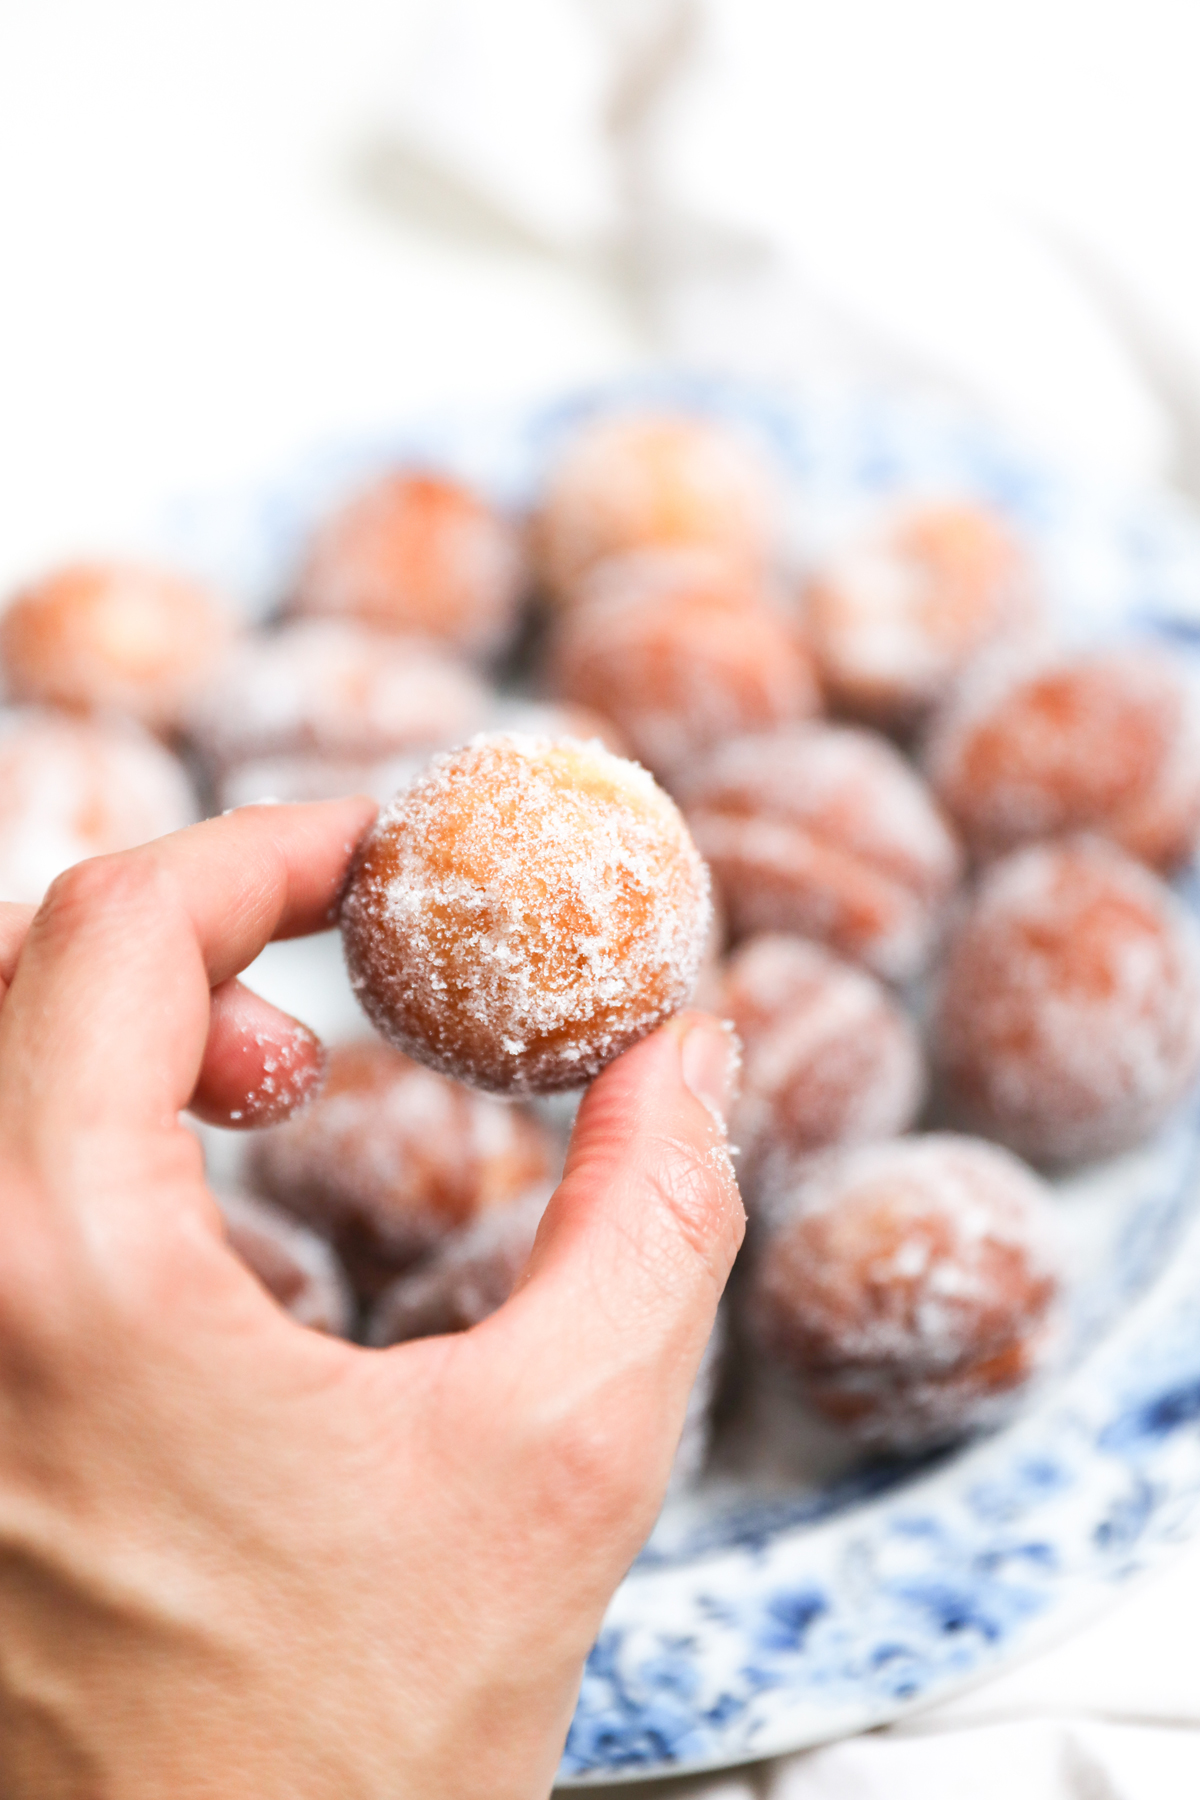
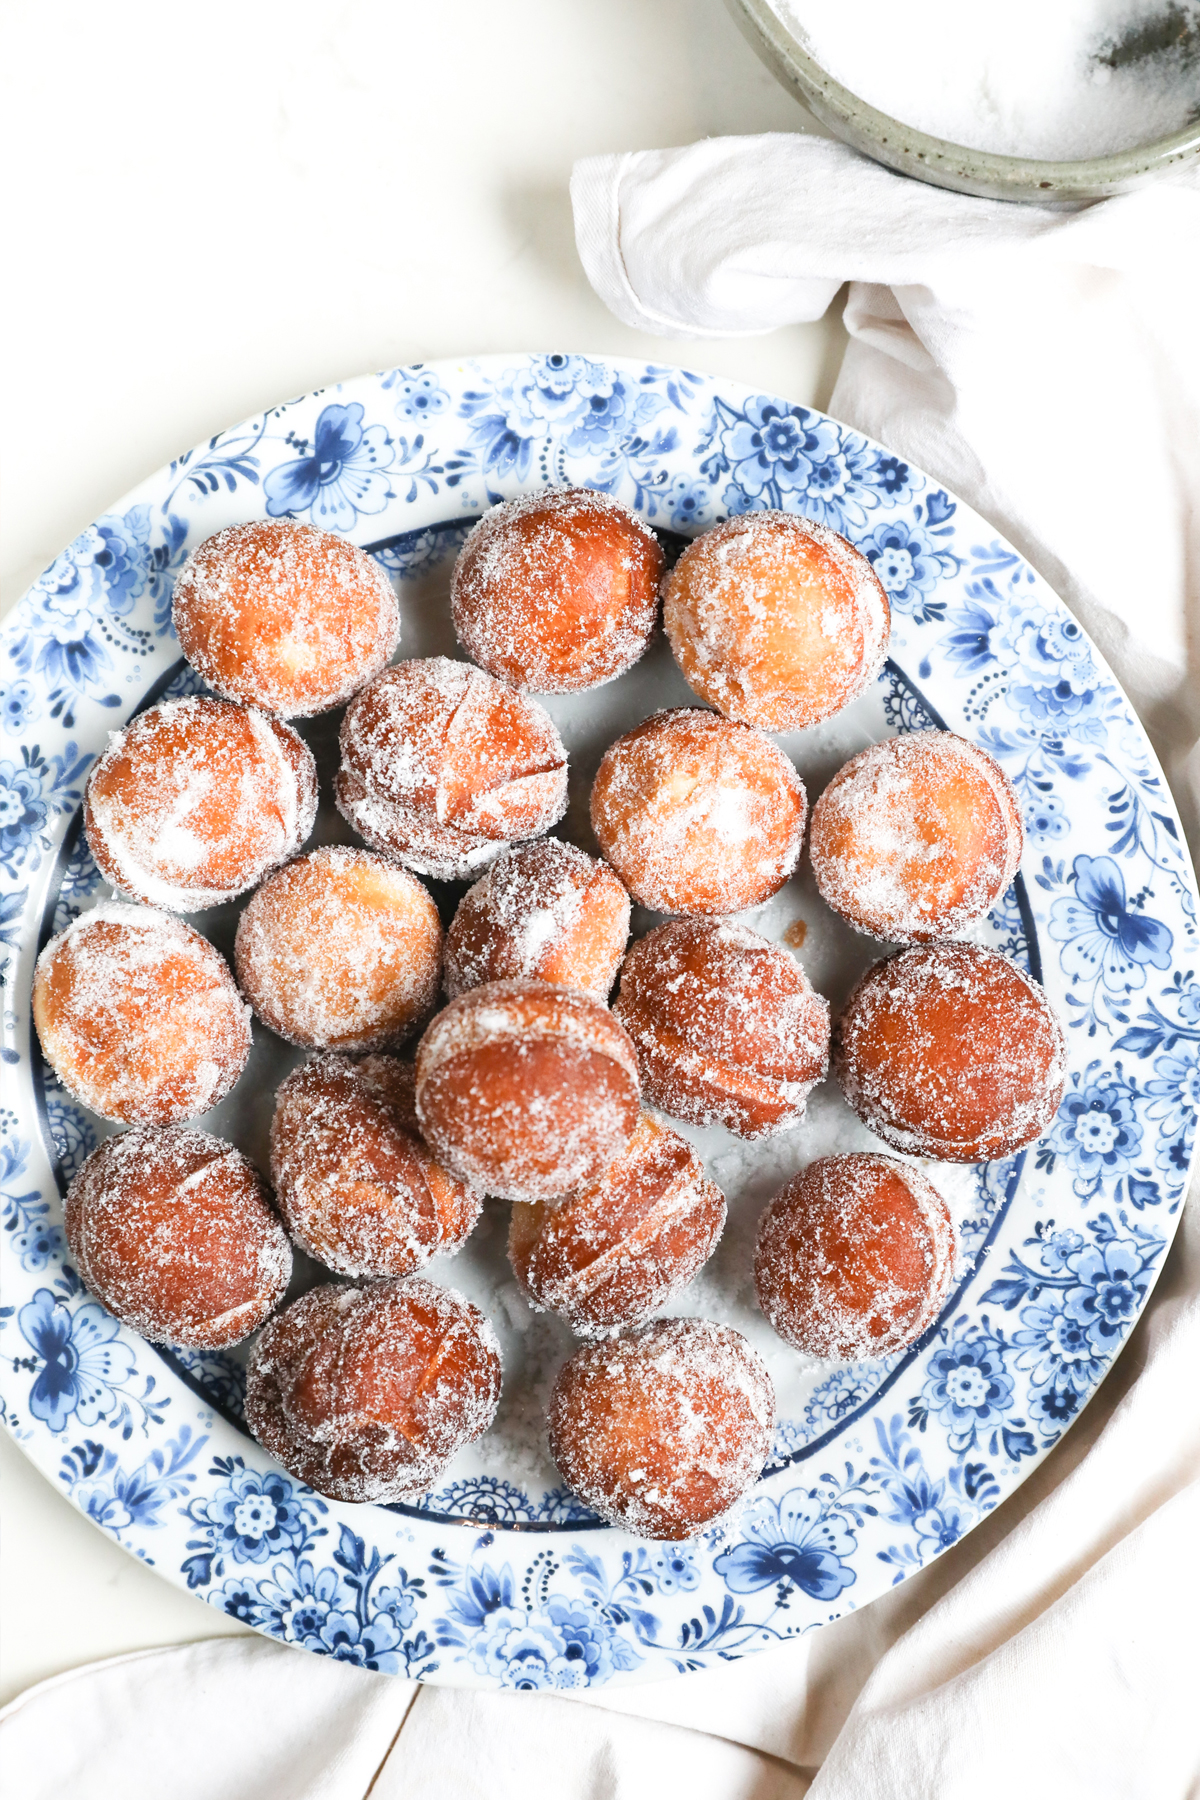
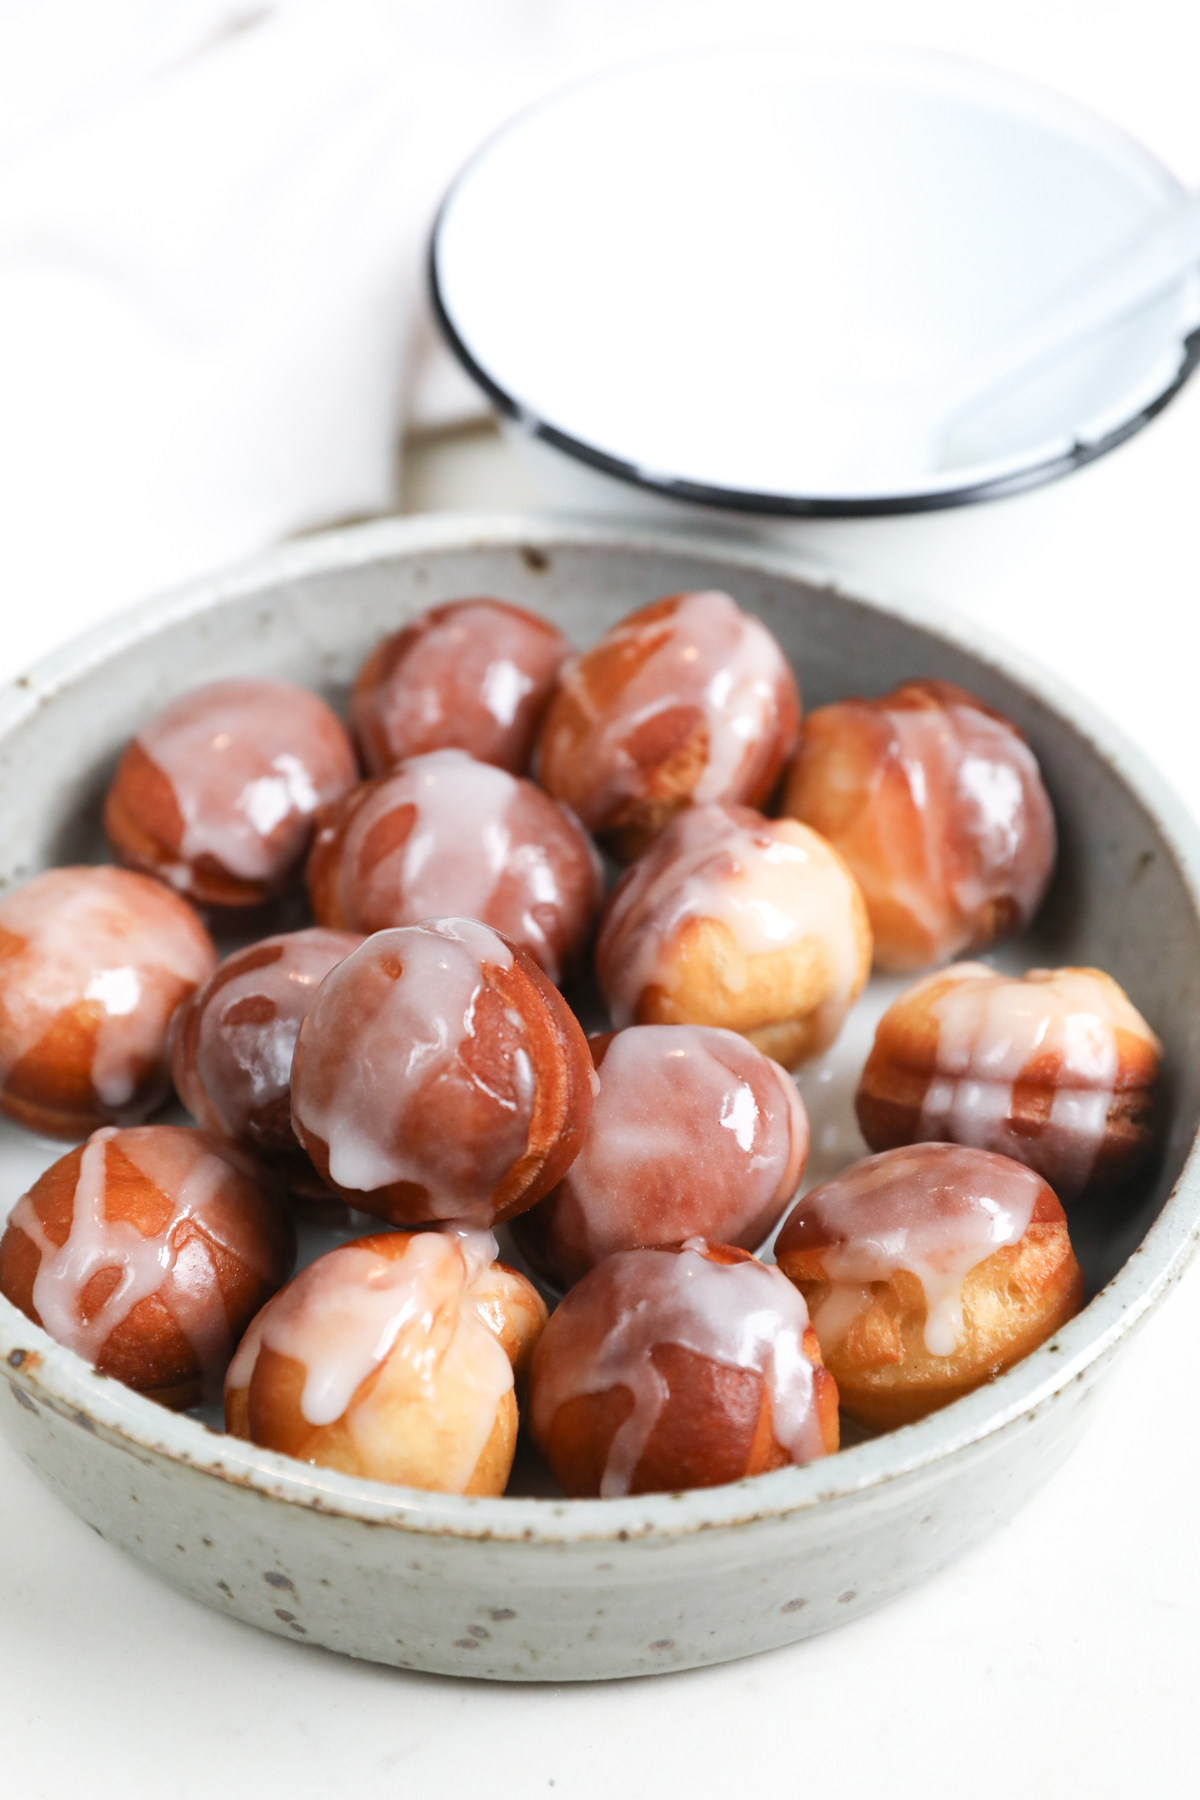
Once fried, the fun part is dusting in caster sugar or drizzling with Glacé icing. Yummy! Find the recipe and notes below.

Mini Doughnuts
 Prep Time: 4 hours
 Cook Time: 15 mins
 Total Time: 4 hours 15 mins
 Yield: 30 Mini Doughnuts 1x
Description
Delicious mini doughnuts with a tried ad tested dough recipe. Deep Fried mini doughnuts are a perfect tea time treat, everyone loves them and they make for perfect party finger food
Ingredients
- 2 cups bread flour (280g)
- 2 cups 00 flour (or all purpose-flour) (280g)
- 1/2 cup caster sugar (100g)
- 6.5 tablespoons butter, softened (90g)
- 2 1/4 teaspoons instant yeast (7g)
- 1/2 cup lukewarm milk (120ml)
- 3 large eggs
- 1 teaspoon vanilla essence or 1/2 teaspoon vanilla paste
- pinch of salt
- 1/4 cup caster sugar or icing sugar (for rolling doughnuts in or for making icing to drip over doughnuts)
- Vegetable oil for deep frying
Instructions
- Place the flour*, sugar and yeast in a bowl and stir by hand until combined. * See notes for measuring flour.
- Scatter the cubes of butter over the flour so they are evenly distributed and then add in the milk, eggs, vanilla and salt
- Using the dough hook attachment for your electric mixer, knead on low speed for 10 minutes ( I use my Kitchen Aid mixer on level 2).
- After 10 minutes the dough should be soft, elastic, smooth and slightly tacky.
- On a smooth clean surface, tip the dough out and shape it into a neat ball (don’t overwork with it)
- Once it has been shaped, place into a bowl that has been slightly greased with oil. Now cover with plastic wrap and allow to prove for 2-3 hours (it should double or even triple in size)
- Once the dough has risen nicely, place it onto a clean work surface once again and knead it 2-3 times and then roll it out until it is 1.5 cm (1/2 inch) thick.
- Using a 4cm cookie cutter (or roughly that size), punch out as many circles as you can. Combine the dough back into a ball, roll out and again punch as many circles as you can.
- Cover the cut out doughnuts loosely with some plastic wrap and allow them to prove for another 1 or so.
- In a wide frying pan or shallow pot (depending on how much oil you have), heat the oil until almost simmering. (Oil should be 3 inches or 8cm deep for best results)
- Carefully place one doughnut into the oil, and test out the temperature by cooking it for one minute on each side. Remove from the oil, and allow to drain on some paper towel. Break it open with a fork and check that the inside is cooked through. If not, adjust the temperature very slightly
- Cook the dough in batches to avoid overcrowding the pan which reduces the temperature of the oil (we don’t want that). Place the doughnuts carefully into the pan/pot and cook for a minute on each side, turning them and removing them with tongs (seems to work best!!)
- Allow them to drain on a paper towel whilst you attend to the next batch.
- Once you are done frying, roll the doughnuts whilst still warm in a bowl of caster sugar or alternatively, dust with icing sugar or make some Glacé icing using icing sugar and water ) – both are just as delicious!!
- Now eat and enjoy – these doughnuts are best eaten soon after cooking!!
- Cook for one minute a side, turning them over using tongs.
Notes
Measuring flour – If you are using cups to measure the flour, make sure you spoon the flour into the cup and tap the cup to get rid of air volume. This is important to get the right quantity of flour.

Recipe adapted from Inside the Rustic Kitchen’s Bomboloni Cream Doughnuts.


So is that 2 different flours to be used?
Hi Rene, yes, 2 different flours for best results.
Do you have an email address where you receive emails? I have sent various emails regarding questions on your recipes, but I NEVER get a response