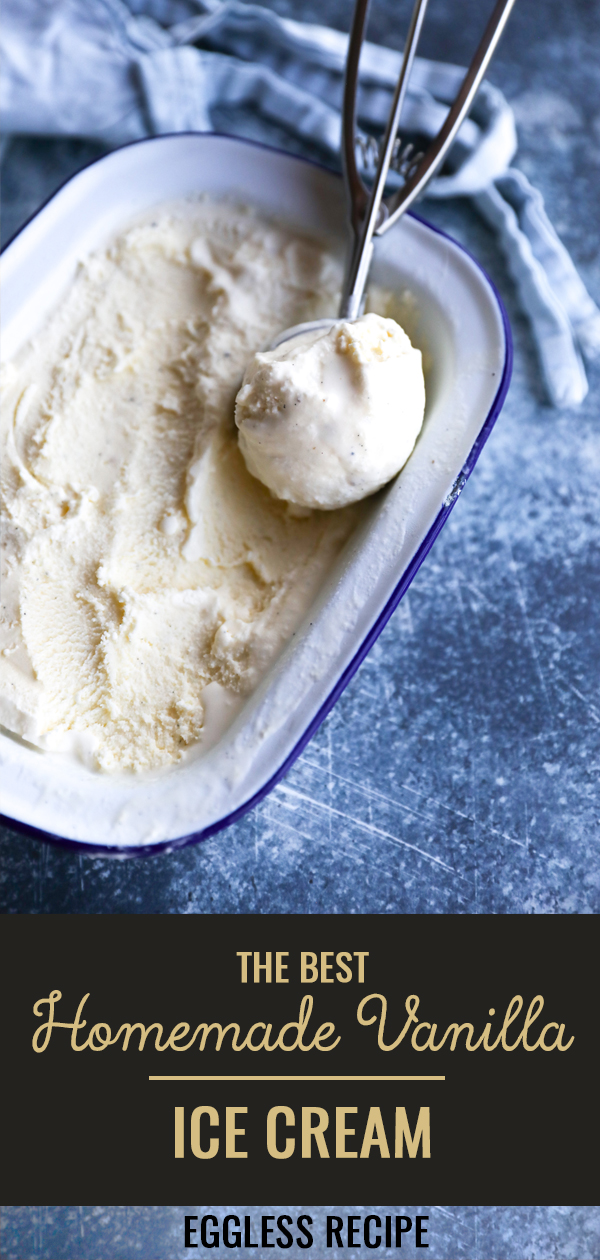
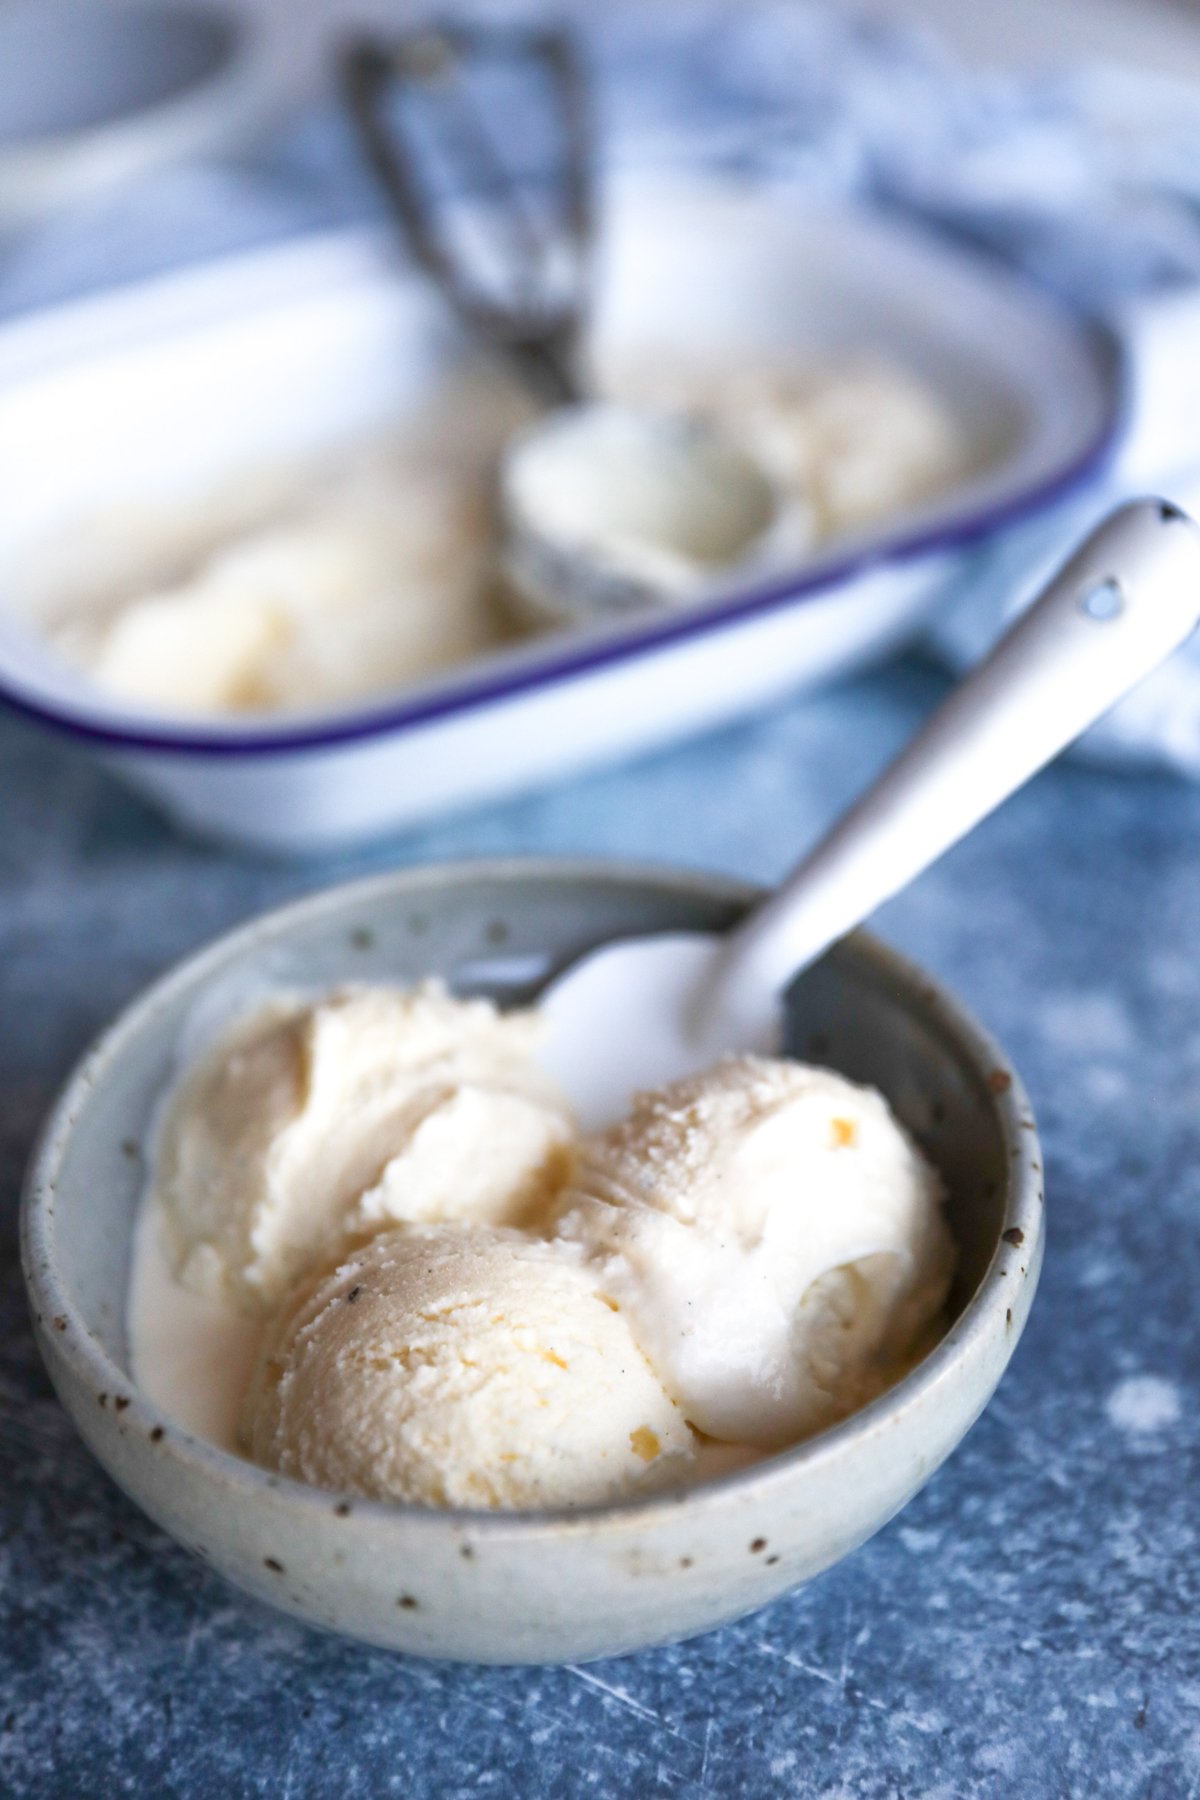
The best recipe for homemade vanilla ice-cream, ever! This recipe has no eggs and is made with an ice-cream maker. The ice-cream is super creamy and tasty and comes together very easily with just 5 basic ingredients.
I am a mother of 3 boys and every month we have a full moon ice-cream tradition. I will check the calendar when there is going to be a full moon and then make this homemade vanilla ice-cream and we will all head outside, watch the moon rise and savor each spoon of delicious ice-cream! Yum!!
Overview of how to make Homemade vanilla ice-cream
- Gather ingredients and place the cream, milk, sugar and salt in a heavy-bottomed saucepan.
- Place on medium heat and stir consistently to dissolve the sugar
- Remove from heat and add the vanilla extract or vanilla seeds and stir through
- Chill the ice-cream mixture in the fridge
- Chill the removable bowl from the ice-cream machine for 6-12 hours
- Get the ice-cream machine ready according to directions of your machine – remember to place the chilled bowl back in the machine
- Add the chilled ice-cream mixture and start churning! Churn until thickened – about 20-30 minutes depending on your machine.
Ingredients
Cream
Use pouring or whipping cream. You just want something with a fat content of about 30-40%
Milk
Use whole (full-cream) milk. If you like you could use half-and-half for an even richer ice-cream but it is not necessary as this recipe still has a lot of cream and the proportions are correct.
Sugar
We want to add sweetness to the ice-cream and you can use cane sugar, castor sugar or even powdered sugar however this recipe calls for castor sugar which is a nice medium size to dissolve into the milk.
Salt
Salt helps to prevent ice crystal formation in the ice-cream so don’t leave this part out.
Vanilla
Vanilla Extract or vanilla seeds impart the wonderful flavor to Vanilla Ice-Cream. The seeds offer a more authentic flavor but the vanilla extract is not far behind and will still give the ice-cream a rich vanilla flavor.
Why don’t You Use Eggs?
Although a lot of ice-creams start off with a custard base to make hte ice-creams thicker and creamier, I prefer to keep my ice-cream simple and fuss-free and I find this recipe does exactly that, without using eggs.
Best Toppings for Ice-Cream
- Some of the best toppings for ice-cream include,
- Chocolate sauce
- Caramel sauce
- Crushed cookies
- Meringues
- Marshmallows
- Chocolate shavings
- Baked banana slices and syrup
- Sprinkles
What should I serve my ice-cream with?
How about apple pie? Warm brownies? Any kind of tart? Pancakes? Waffles? Any rich dessert that needs balancing or even a tart dessert, like blueberry pie would be wonderful with a side scoop of ice-cream.
Add Variations to your Vanilla Ice-Cream
Why not add some other flavors to your vanilla ice-cream base? You can easily add a cup of fruit, like strawberries or blueberries or even some choc chips or crushed Oreos or brownies. Try adding more than one ingredient but generally I would say keep the additions to 1 cup or 1 ½ cups but no more than that.
When Should I add the variations to the ice-cream
Stir the additional ingredients into the ice-cream only once the ice-cream has thickened nicely. Then add the extra ingredients and mix until well combined.
Equipment Needed to Make Ice-Cream
An Ice-Cream Maker
I use a Magimix Gelato Expert ice-cream machine. It is SO simple and easy to use and so this is the only one I can truly recommend as its the only one I have ever had but there are many others to explore.
Ice-Cream Container
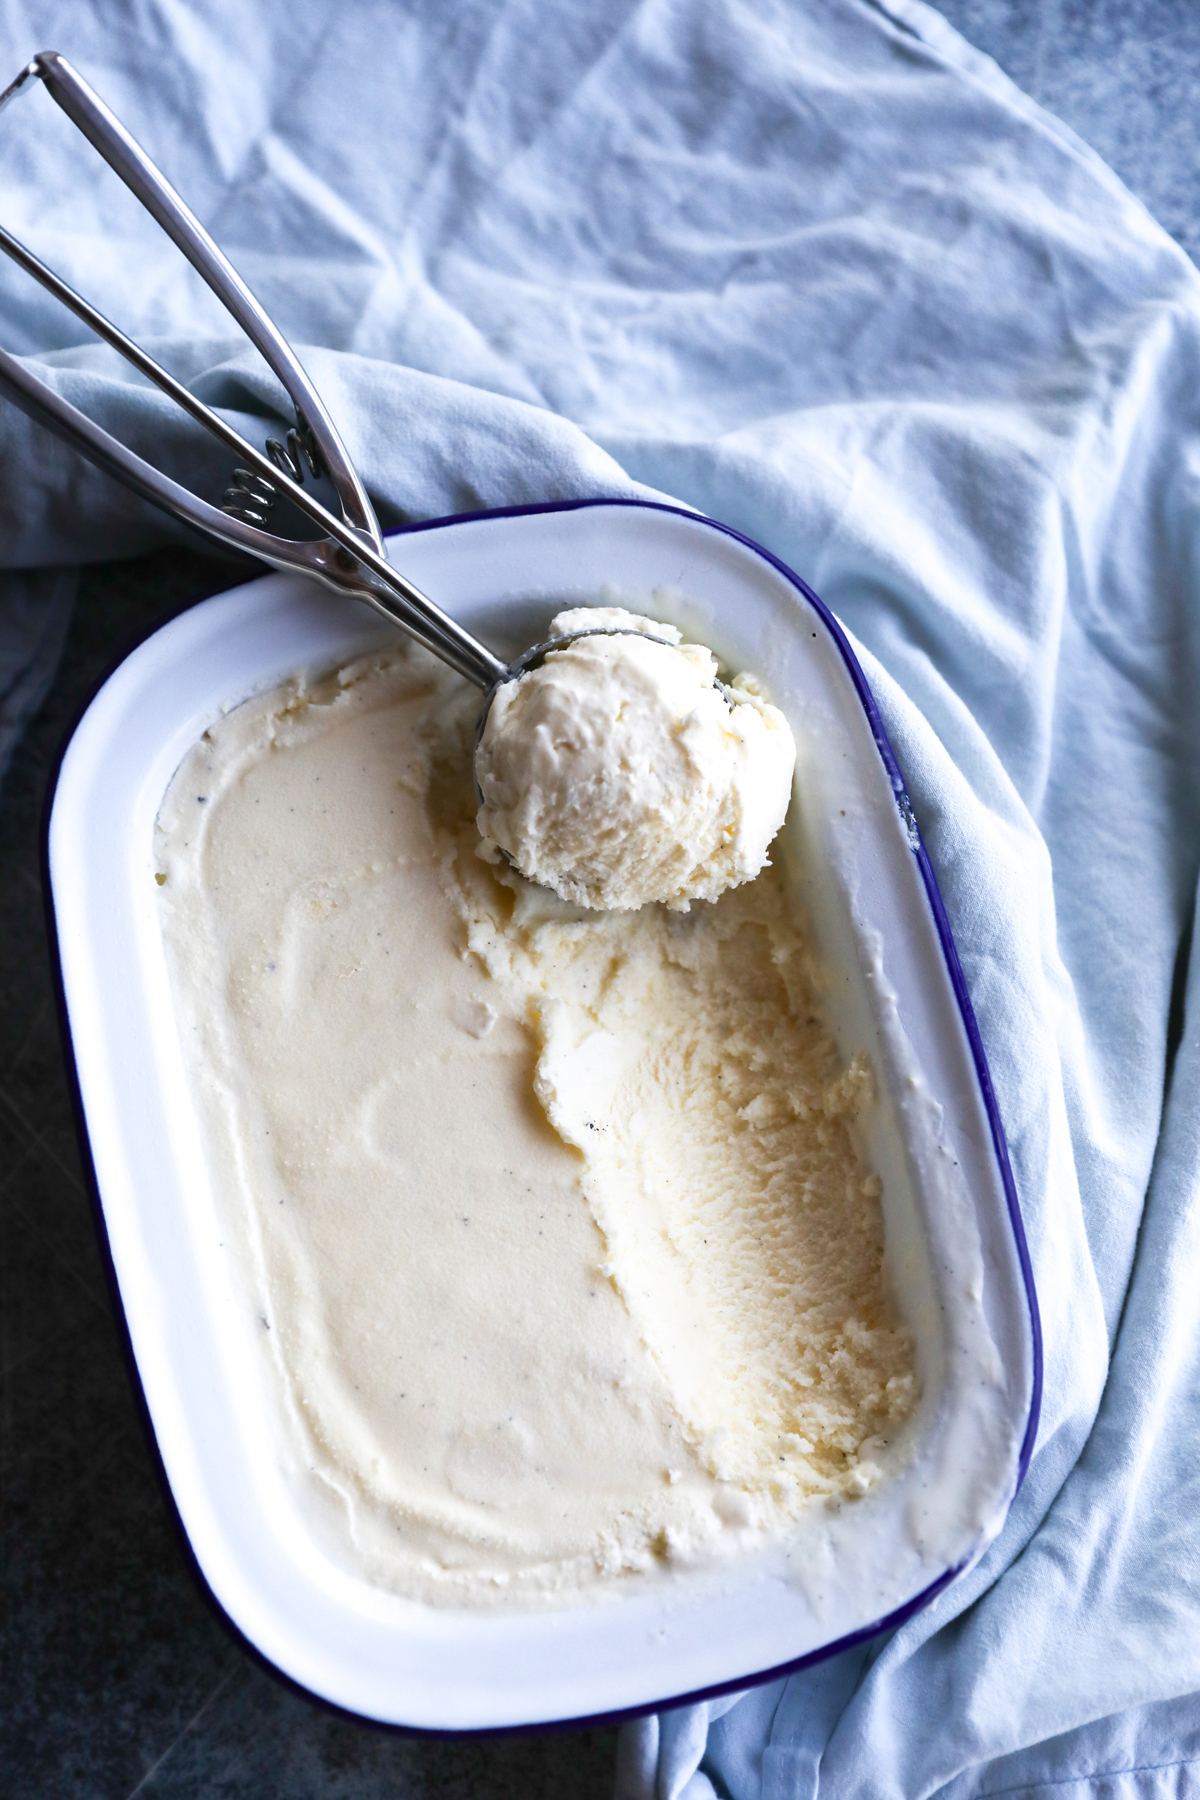
I use metal bread baking tins to store my ice-cream. The metal tin also pre-chills very well (compared to a plastic container for example) so that when I place the ice-cream into the tin, it keeps it cold and prevents the melting that occurs in the short time that the ice-cream gets transferred from the churning bowl into the container and into the freezer.
How Long will my ice-cream last?
Ice-cream will last at least 2 weeks in the freezer but beyond that it may start to form ice-crystals. Although the salt helps to prevent that, homemade ice-cream isn’t as stable and long-lasting as commercial ones. However, this ice-cream is SO good, you won’t need to worry about leftovers sitting around for too long! Make sure to cover your ice-cream with a lid or simply cover with a piece of cling film or wax paper pressed onto the surface.
Top 5 Most Common Mistakes when Making Homemade Ice-Cream and How to Fix Them
- Overchurning the Ice-Cream
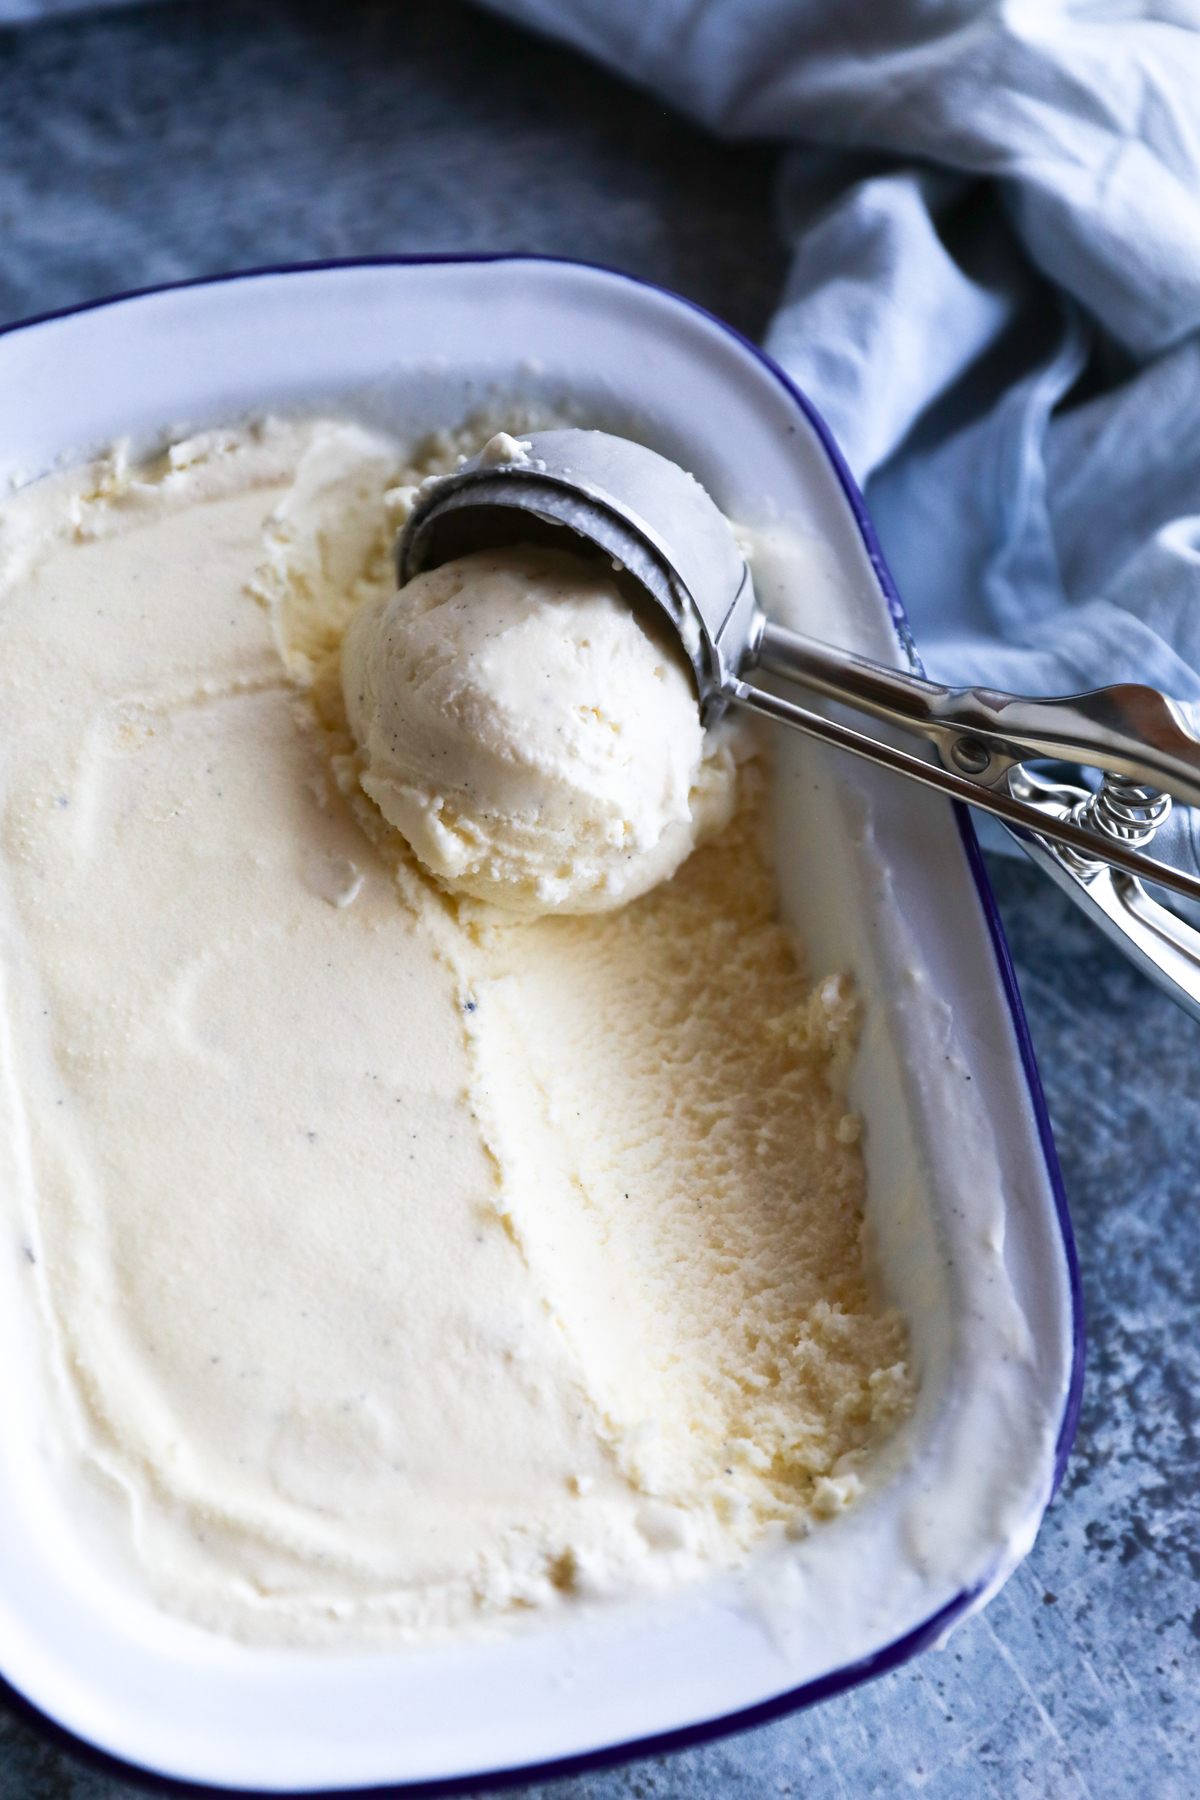
The longer the ice-cream sits in the ice-cream maker churning, the more likely ice crystals will start to develop. So, churn until the ice-cream is similar to the thickness of soft serve and then place in a container and pop it in the freezer so it can firm up even more. - Pouring a warm ice-cream mixture/base into the machine
I can’t stress enough that to make a creamy ice-cream without ice-crystals, everything needs to be as cold as possible and that includes not only the mixing bowl but the ice-cream mixture as well. If you add a warm mixture to the ice-cream machine, your churning time will be longer as a warm mixture will take longer to freeze and ultimately, you will land up with ice crystals forming in your ice-cream. - Not Letting the ICE CREAM bowl get COLD enough
Again, similar to the point above, we need the ice-cream bowl of the machine to get really cold too. Pop the removable bowl of your machine in the freezer 12-24 hours before making your ice-cream and only place it back in your machine when you are ready to add the ice-cream mixture to it. A cold bowl helps to get the ice-cream mixture to freeze quickly and reduce churning time which means, less chance of ice crystals forming. - Using low-fat or fat free milk ie. Low fat content and high water content
You want to use whole milk or half-and-half ie. You need a milk that has a high fat content with a relatively lower water content. The more liquids you have in your ice-cream, the longer your freezing time and the greater the likelihood of ice crystals forming (creating an icy ice-cream!) - Over-filling the machine
If you over-fill the machine, the mixture will likely spill out the machine once it starts to thicken. Eeek! We all want the most we can get from a batch of homemade ice-cream BUT you also don’t want it to be spilling out of your machine! Only fill your machine to about three quarters as a general rule of thumb.
Substituting Ingredients in Your Ice-Cream
Can I use Cane sugar instead of Castor sugar?
Yes, you can use cane sugar instead of castor sugar. The cane sugar will just take fractionally longer to dissolve in the milk but it will still add the same sweet flavor as castor sugar. I have even used powdered sugar (icing sugar) in my ice-cream before and it also worked well – essentially we are wanting to add sugar!
Can I substitute Whole milk for Half-and-Half?
The ratios in this recipe are balanced really well. If you prefer a richer/creamier ice-cream or just don’t have any whole milk on hand, experiment using the half and half. Churning time may reduce slightly.
Ice-Cream Making Questions and Answers
What if the ice-cream is too hard to scoop?
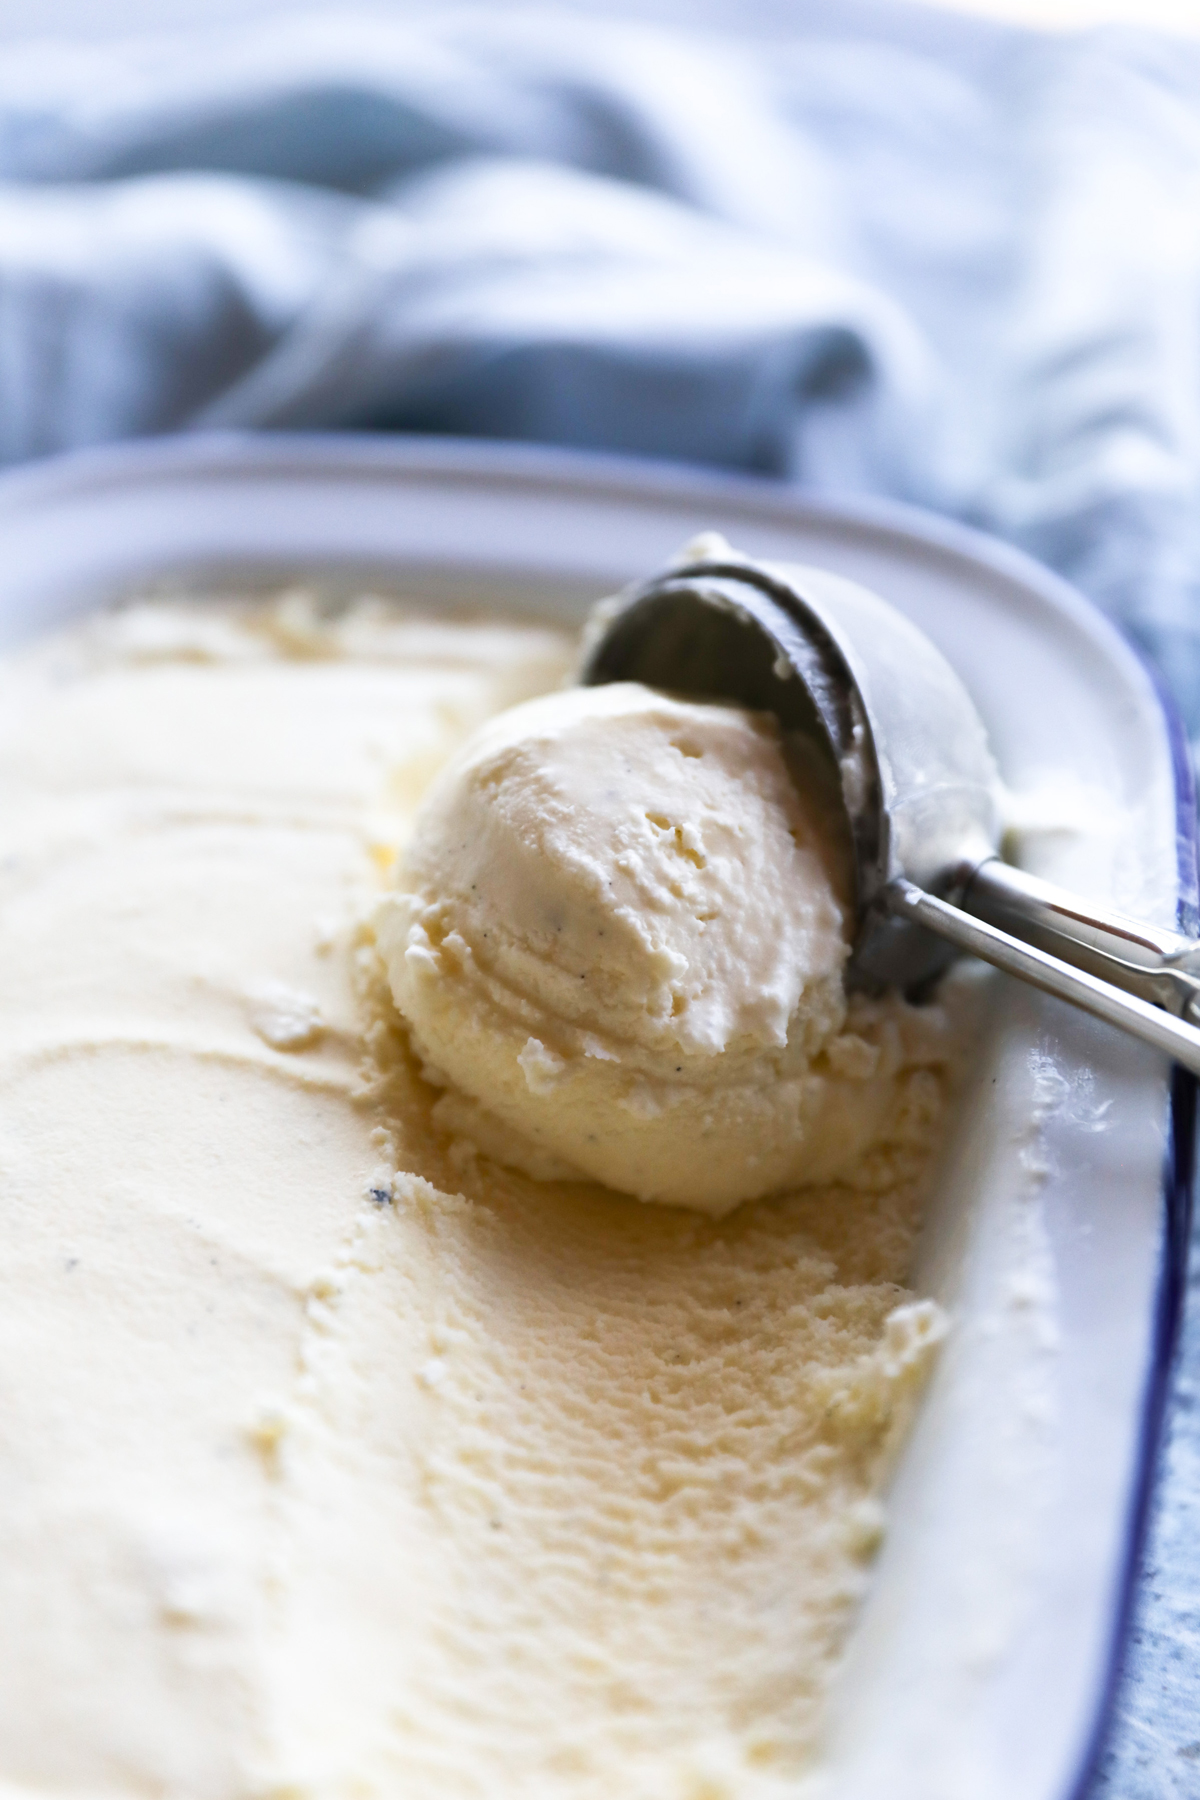
Allow the ice-cream to sit for 5-10 minutes before scooping or heat up the scoop spoon in boiling water before scraping the ice-cream into a scoop. This usually helps and is what I always do when serving ice-cream. The longer the ice-cream sits in the freezer, the harder it will go, so try and use the ice-cream within 2 weeks, when it is still relatively soft and easy to scoop.
Can I add more sugar to the Ice-Cream?
I would suggest starting off with the specified amount. Dissolve that in the milk and taste. If you feel you need to add more sugar, add an extra 1-2 tablespoons and allow that to dissolve and taste again. You don’t want to add too much and end up with an ice-cream that is too sweet to eat.
Why the need to chill the mixture and the bowl before churning? Doesn’t my machine keep everything cold?
We want the ice-cream mixture to be cold as can be because in order for the machine to freeze the mixture as it churns, everything needs to be as cold as can be! The ice-cream bowl needs to be cold and stay cold otherwise the ice-cream mixture will never freeze!
How do you prevent ice-cream from going icy?
This is what the salt is for so don’t omit it from the recipe. You can also cover the ice-cream with a waxed piece of paper or some plastic film and press it against the surface of the ice-cream. Use the ice-cream within 2 weeks and avoid allowing the ice-cream to sit in the freezer for too long!
Why do you use a heavy bottomed saucepan when heating the milk?
I recommend this so as to not burn the milk when warming it up over medium heat. A thick bottomed base heats up slower and helps to protect the mixture from creating a skin at the bottom of the pot.
I don’t have an Ice-Cream Maker! How could I make Ice-Cream without one?
You could cool your mixture in the fridge as per the recipe and then place it in a freezing cold mixing bowl (I would sit the bowl in a bath of ice). You would then need to mix the ice-cream and place in the freezer for 30 minutes or so and then bring it out again and mix it again for a few minutes and then place back in the freezer for 30 minutes and then bring it out again and mix. This is a lengthy method but is the only way you would keep the ice-cream temperature down so that you can effectively churn it well.
Easy Homemade Vanilla Ice Cream Recipe (with Ice Cream Maker)
 Prep Time: 20 minutes
 Cook Time: 40 minutes
 Total Time: 60 minutes
 Yield: 1 Litre 1x
Description
The Best Recipe for Homemade Vanilla Ice-Cream without eggs. Use your ice-cream maker, 5 ingredients and this easy recipe to make a dreamy, creamy batch of Vanilla Ice-Cream
Ingredients
- 2 1/2 cups heavy cream
- 1 1/2 cups whole / Full cream milk
- 2/3 cup castor sugar
- Pinch of salt
- Vanilla seeds of 1 vanilla pod OR 2 teaspoons vanilla extract
- Optional additions: 1 1/2 cups of cookies, brownies or strawberries
Instructions
- In a heavy-bottomed pot, add the cream, milk, sugar and salt and place over medium heat. Stir consistently to dissolve the sugar for 4-5 minutes and until the mixture has been warmed right through.
- Take off the heat, add the vanilla seeds or extract and stir through.
- Place the mixture in the fridge to cool for 2 hours or so (You can chill the mixture overnight as well)
- When you are ready to make ice-cream, get the machine ready according to your machines instructions, (remember to pre-chill the removable bowl)
- Remove the chilled mixture from the fridge and add to your ice-cream maker and churn for 20-30 minutes until lovely and thick.
- You can serve this softer ice-cream or you place the mixture in a freezer-friendly container and freeze ice-cream for 2-4 hours or longer and eat later for a firmer texture.
You may also like these recipes:
- Claire’s famous chocolate cake
- Moms homemade chocolate ice-cream
- Wholewheat crumpets
- Pancakes
- Brownie Pudding
- Best Chocolate Brownies
- Chocolate Molten Cakes
